
The science
How RootBeacon works.
Mechanical engineering meets plant biology. No batteries required.
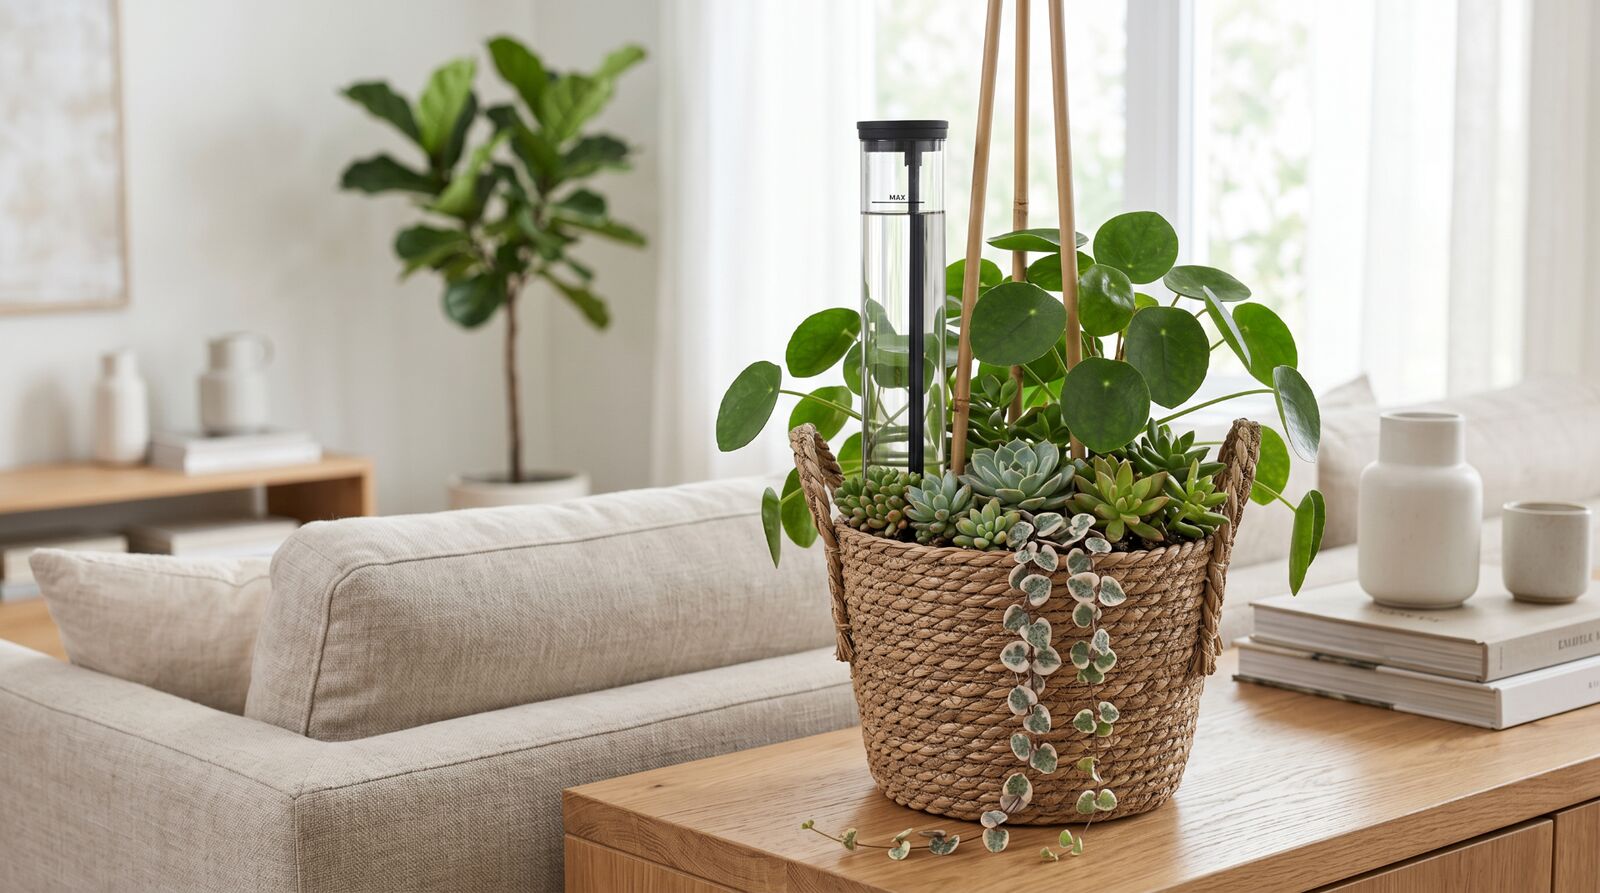
The plant is in charge.
Plants take up water through their roots when soil is dry. They stop when it's saturated. RootBeacon mirrors this exact behavior — flow opens when soil is thirsty and seals shut when it isn't.
The result: soil moisture that closely tracks what your plant actually needs, with no schedule to set and no app to maintain.
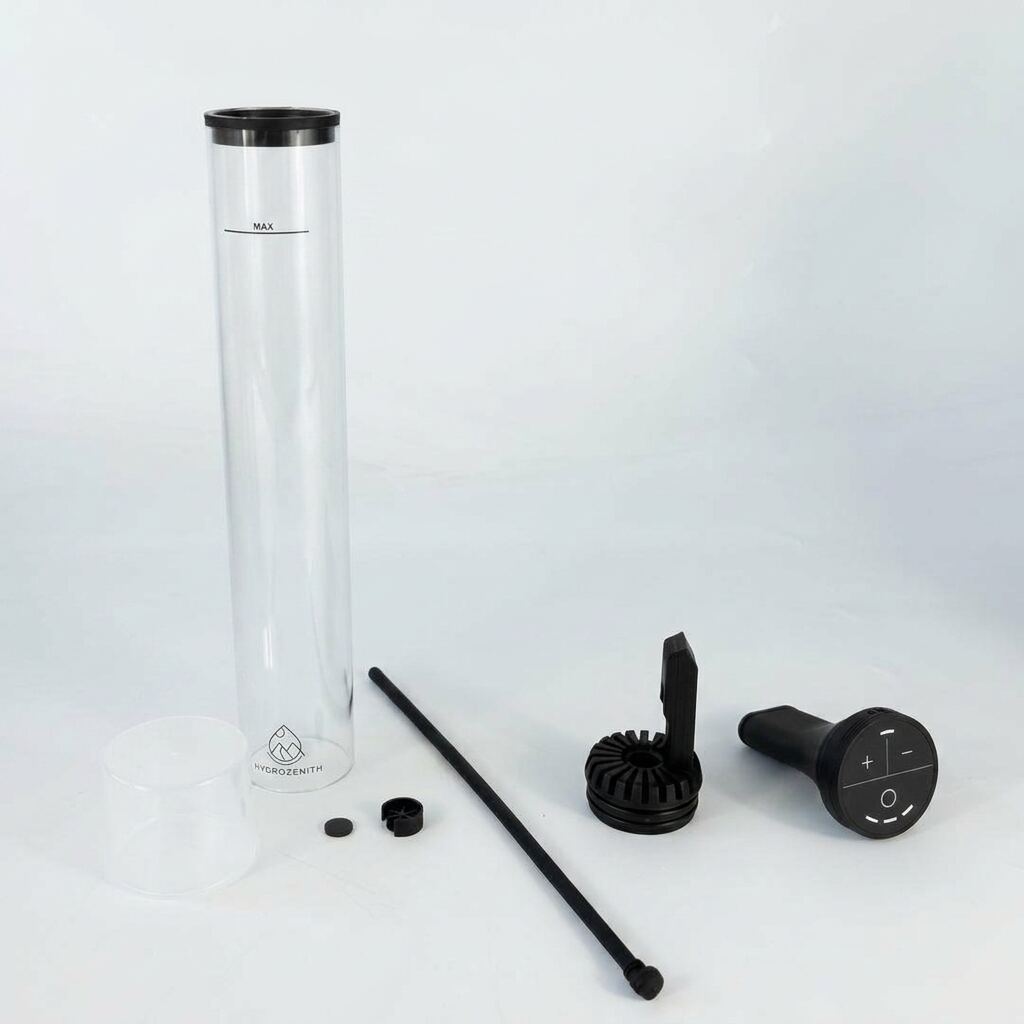
Anatomy of the device.
- 1
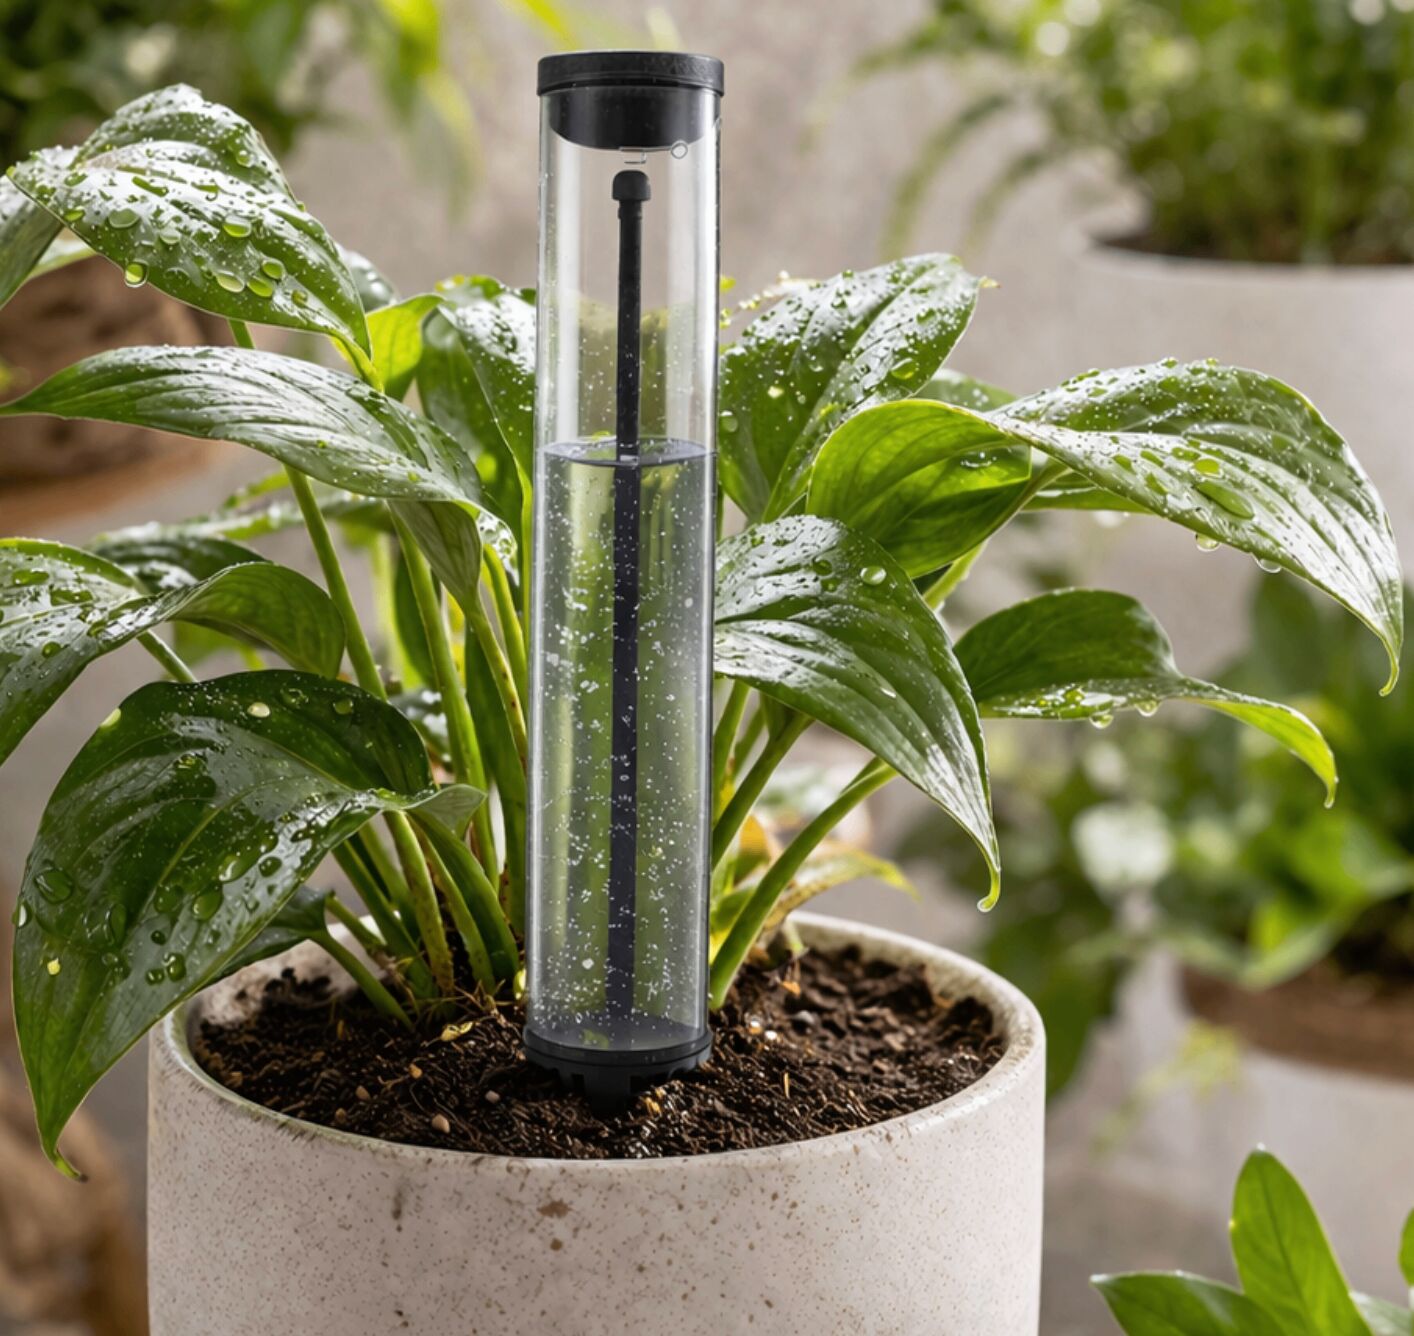
Clear reservoir tube
See your water level at a glance. Holds up to 12 oz.
- 2
Sealed lid
Easy fill, no spills. Compatible with electronic upgrade modules.
- 3
Moisture sensor probe
Mechanically senses soil moisture and controls flow.
- 4
Outlet
Slow, controlled release directly to the root zone.
Step-by-step setup.
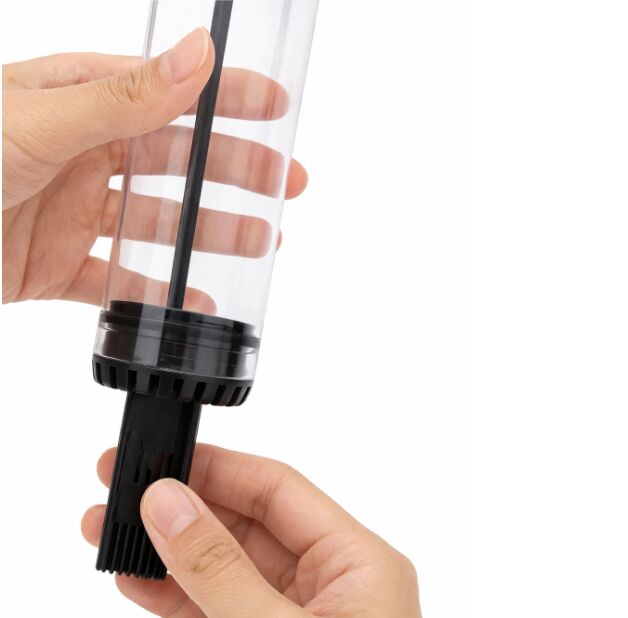
Step 01
Connect the probe
Slide the sensor probe onto the bottom of the tube and ensure it is pushed all the way in.
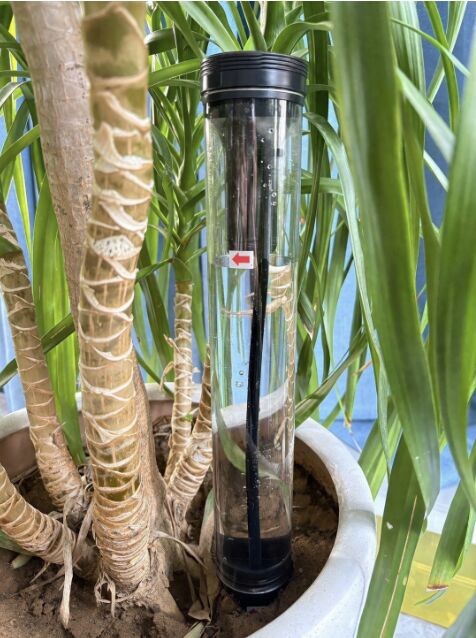
Step 02
Insert into soil
Moisten the tube with a little water, then gently press the sensor into the tube with a slow, steady motion until securely in place.
Step 03
Fill the reservoir
Fill the container with water up to the Max mark — do not exceed it. Close the lid and the device irrigates automatically.
Start mechanical. Add electronics when you want them.
Swap the standard lid for an electronic timing module — no need to buy a whole new device. RootBeacon grows with your needs.
Explore modules
Compare RootBeacon
See how RootBeacon stacks up against the most common alternatives.